How to Write External Data into a Worksheet via Webhook
With webhook capabilities, you can passively receive data from external systems and automatically write it into a worksheet.
Example Scenario
You have an external order management system. When a new order is created in that system, a new record is automatically added to the Orders worksheet.
Workflow Overview
- The external order system submits data by sending a POST request to the platform's webhook endpoint.
- HAP receives the data and triggers a workflow.
- The workflow processes the incoming data and adds a new order record to the worksheet.
Configuration Steps
-
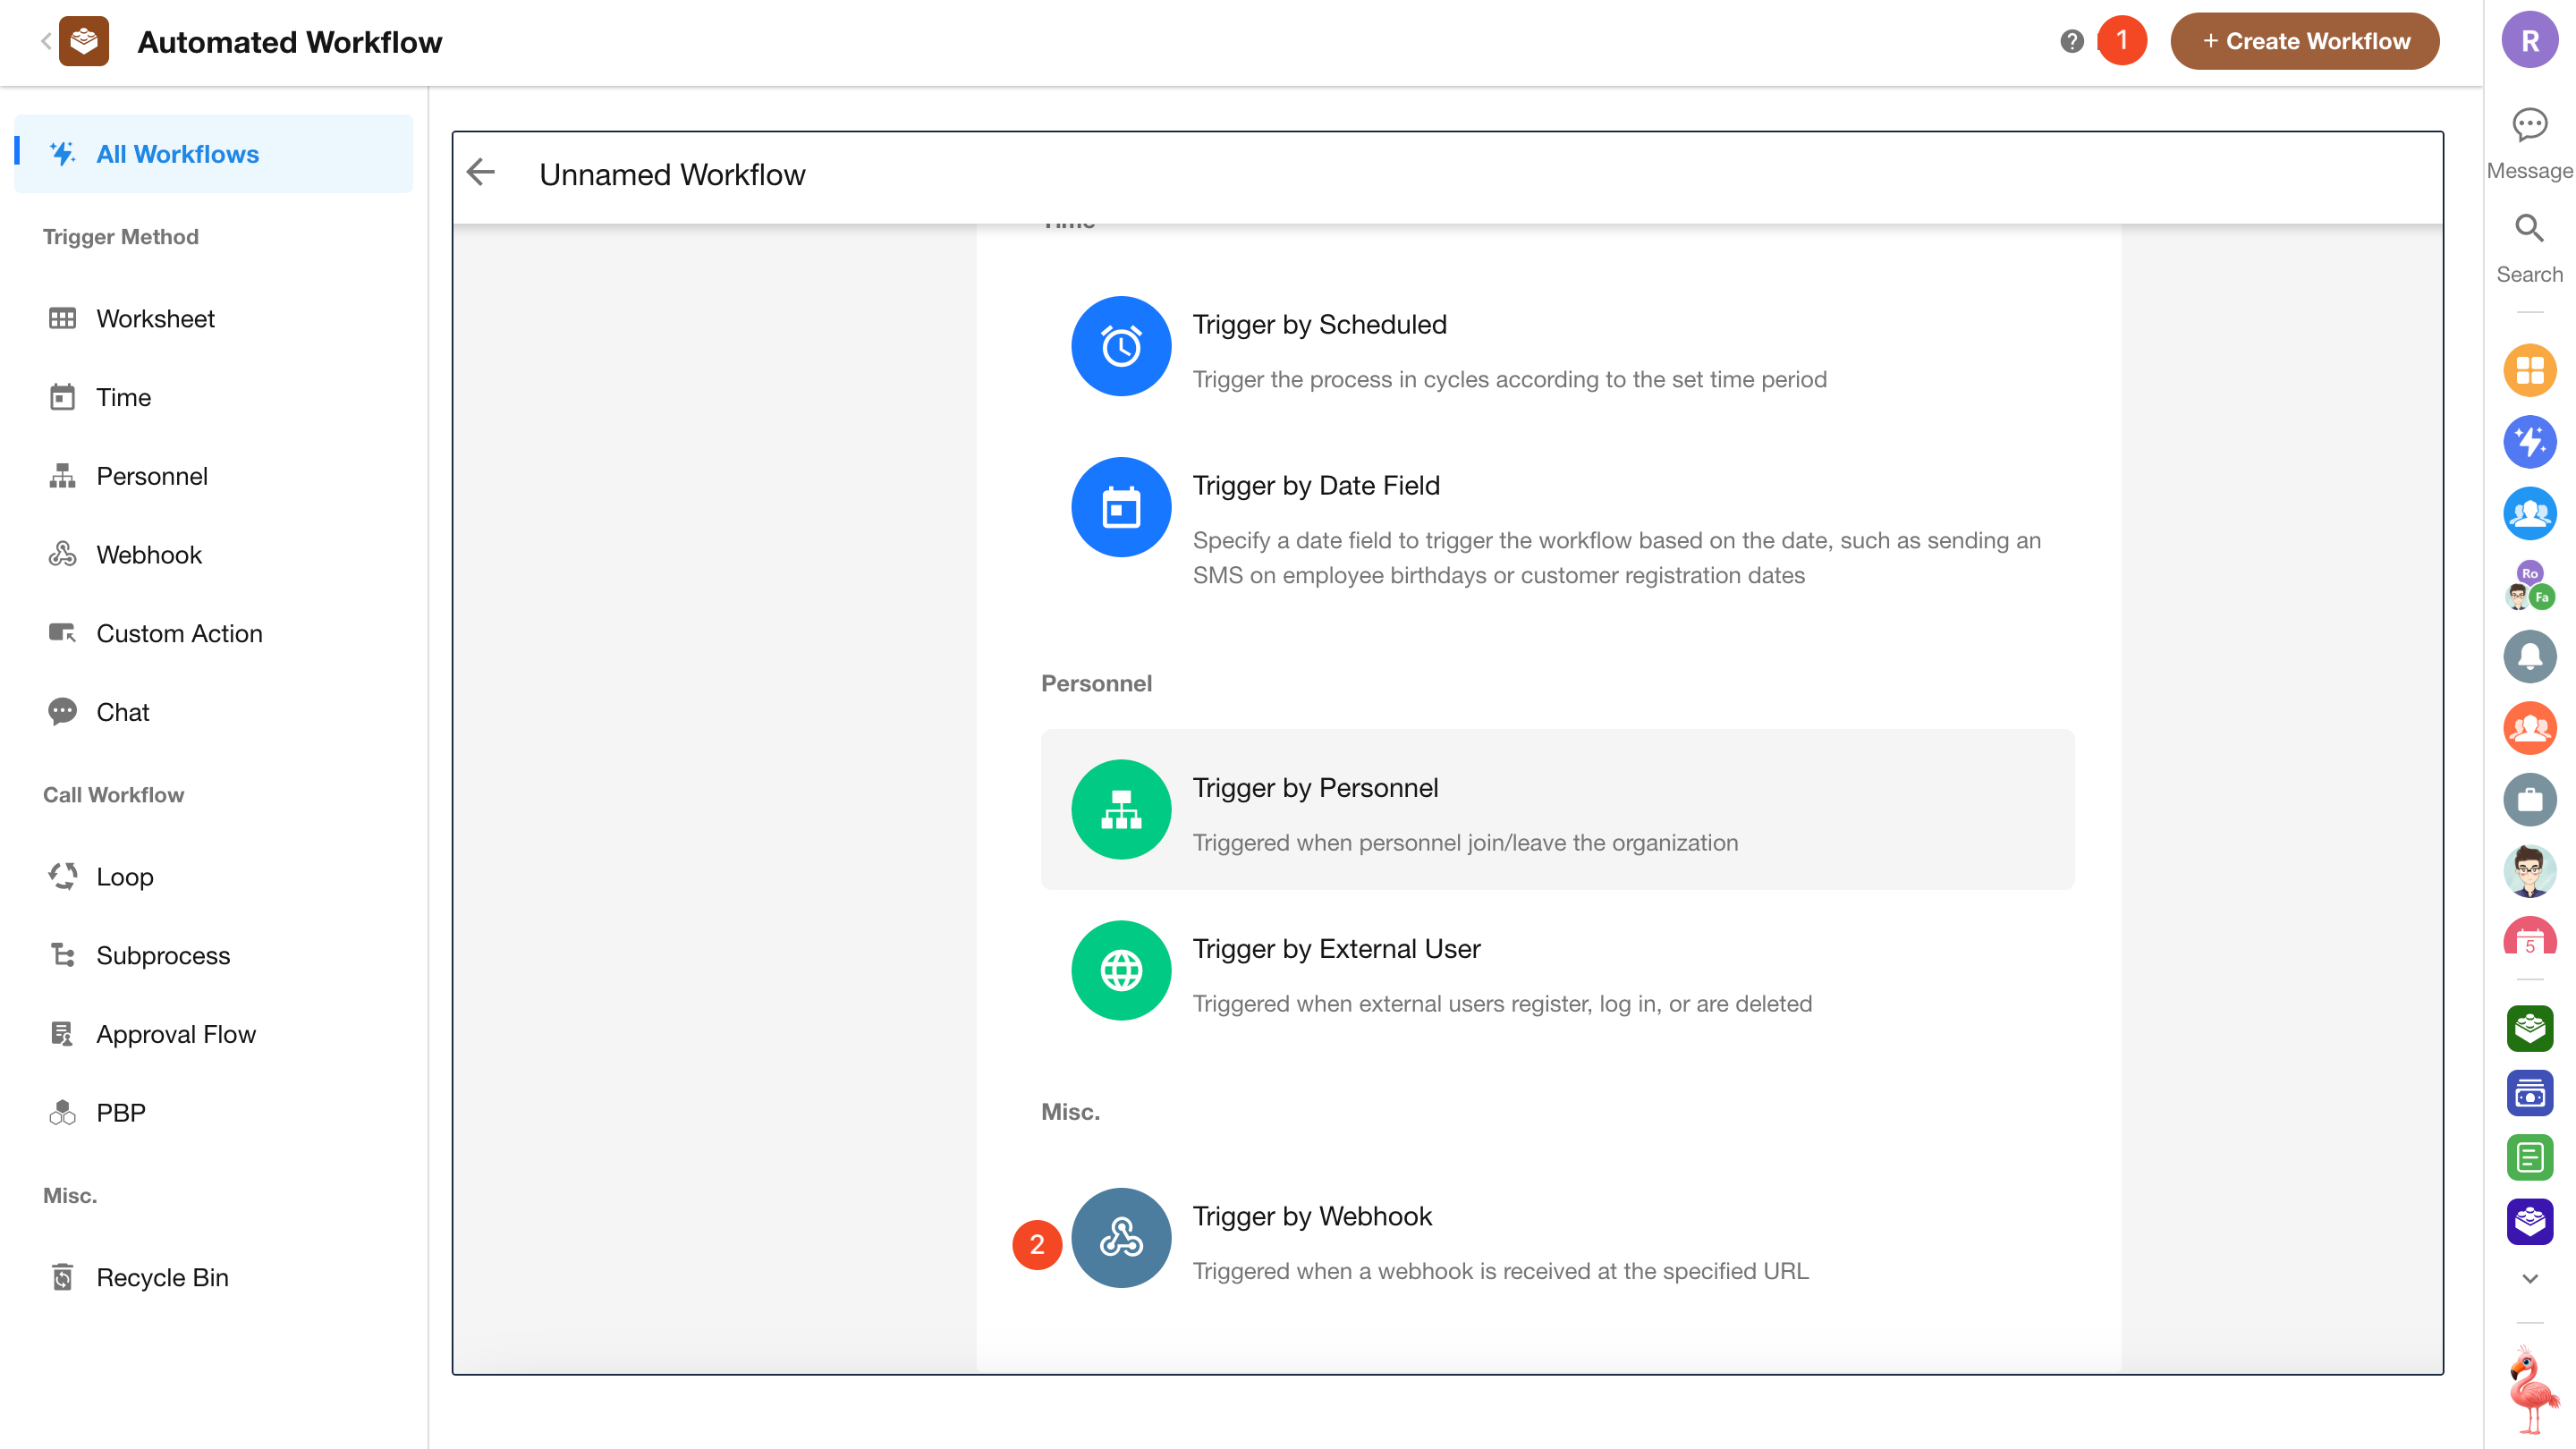
Create a Webhook-Triggered Workflow
In the application that contains your Orders worksheet, create a workflow triggered by Webhook. This workflow will receive and process incoming data from external systems.
-
Configure the Webhook
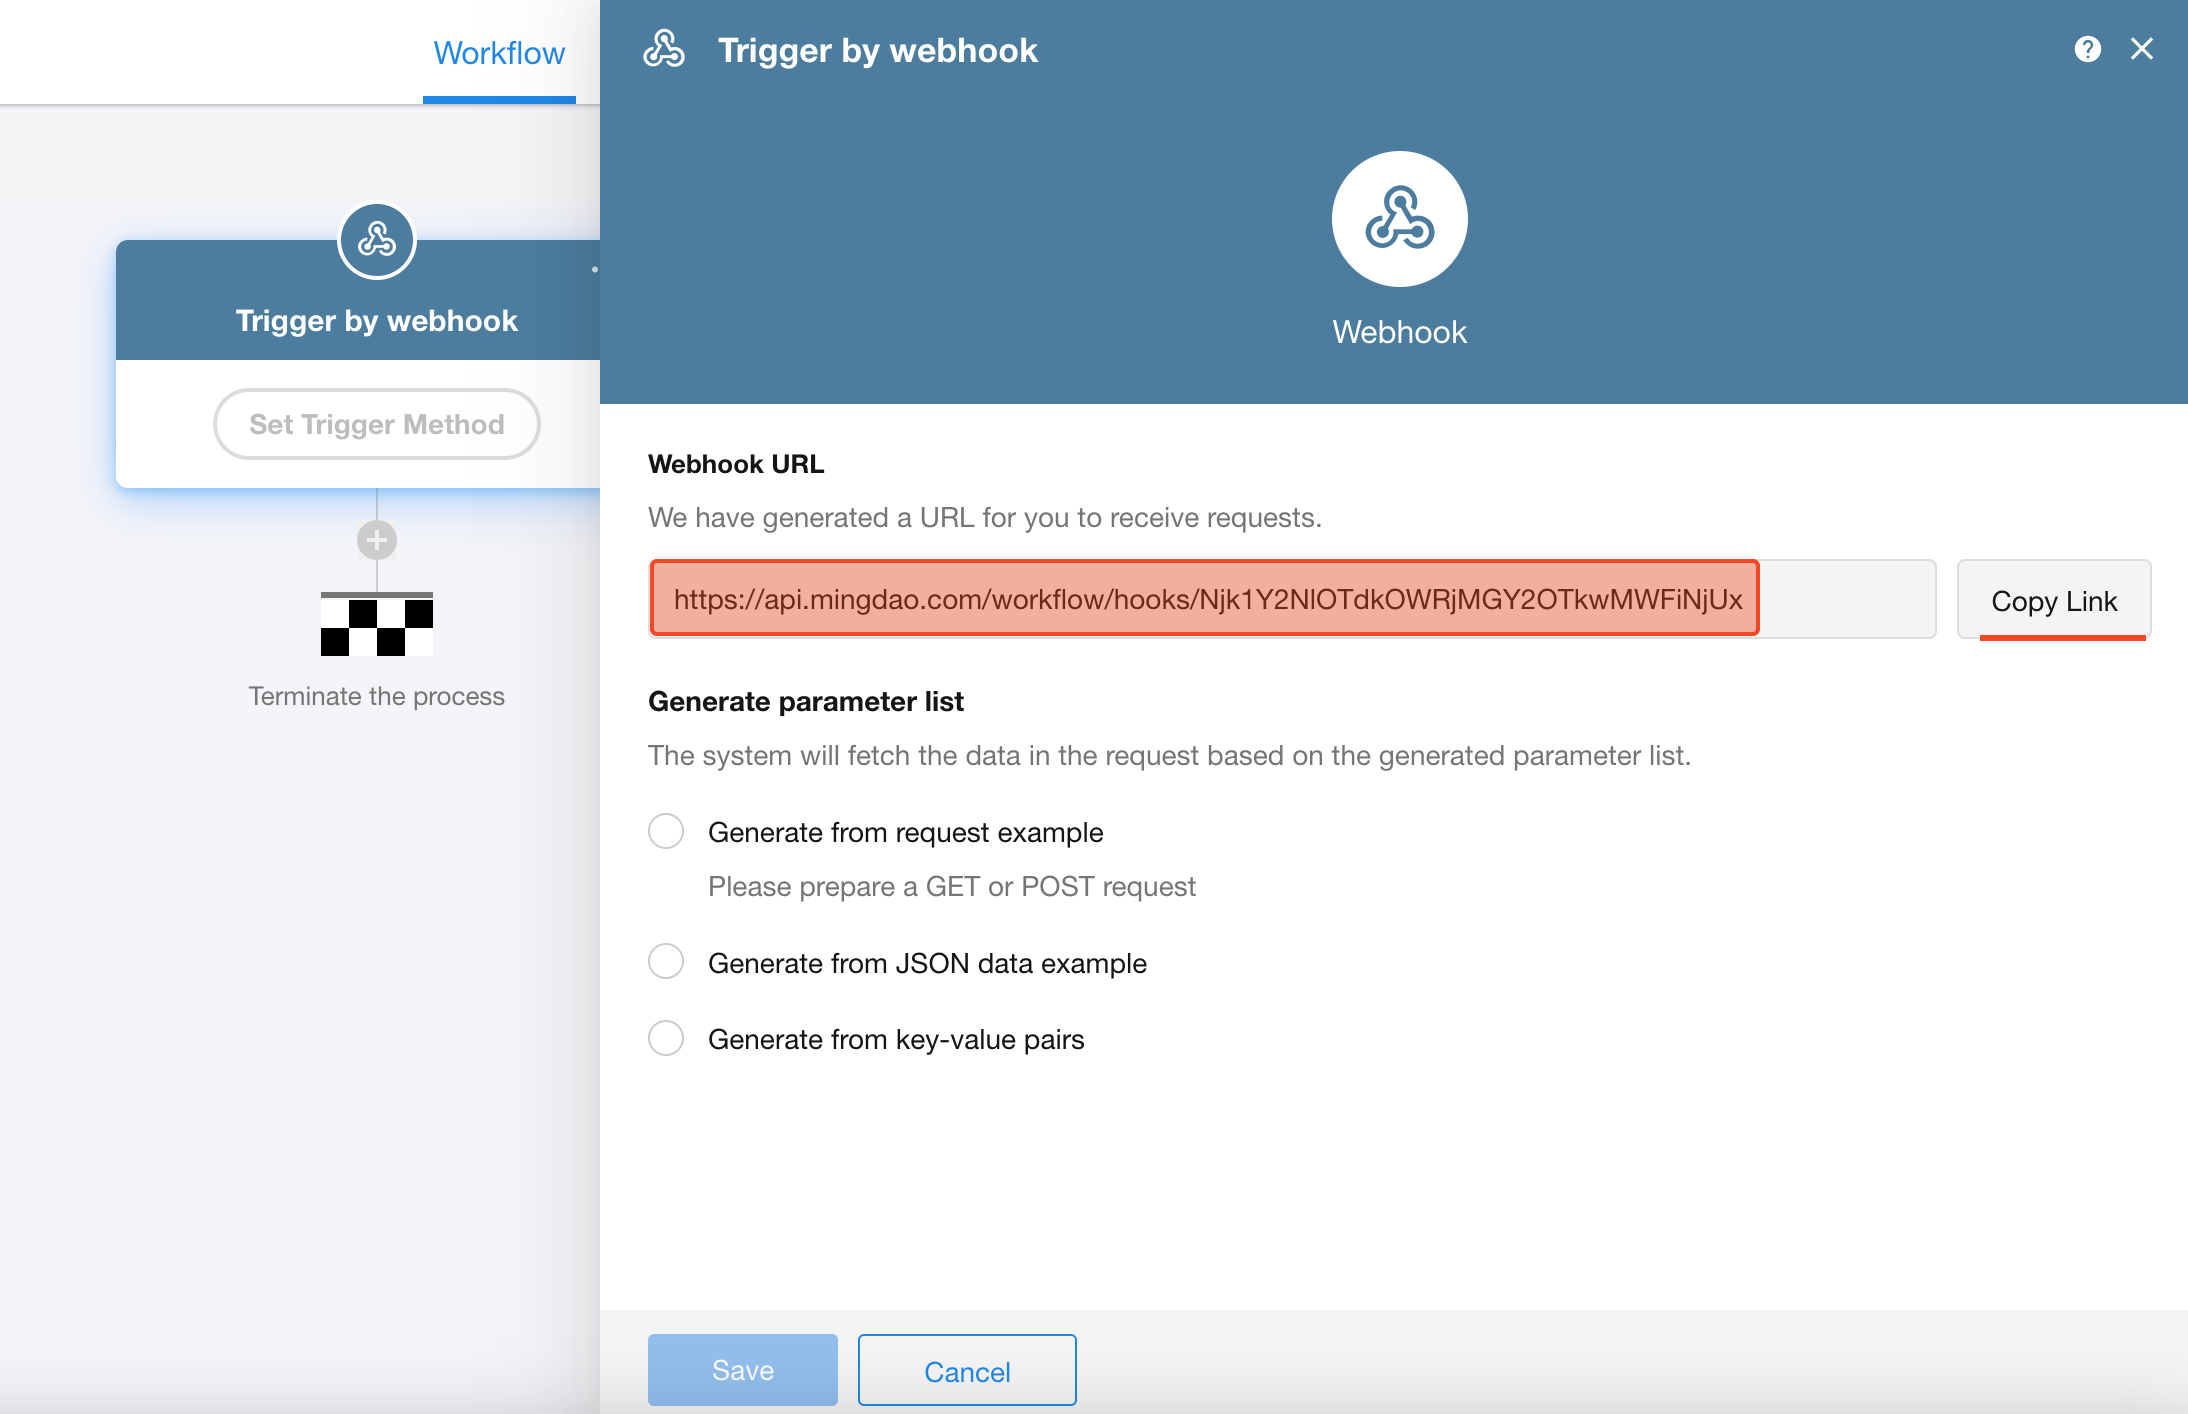
A unique Webhook URL will be generated for you. Simply send the data from your external system to this URL. Click to copy the link and paste it into your external system's configuration.
-
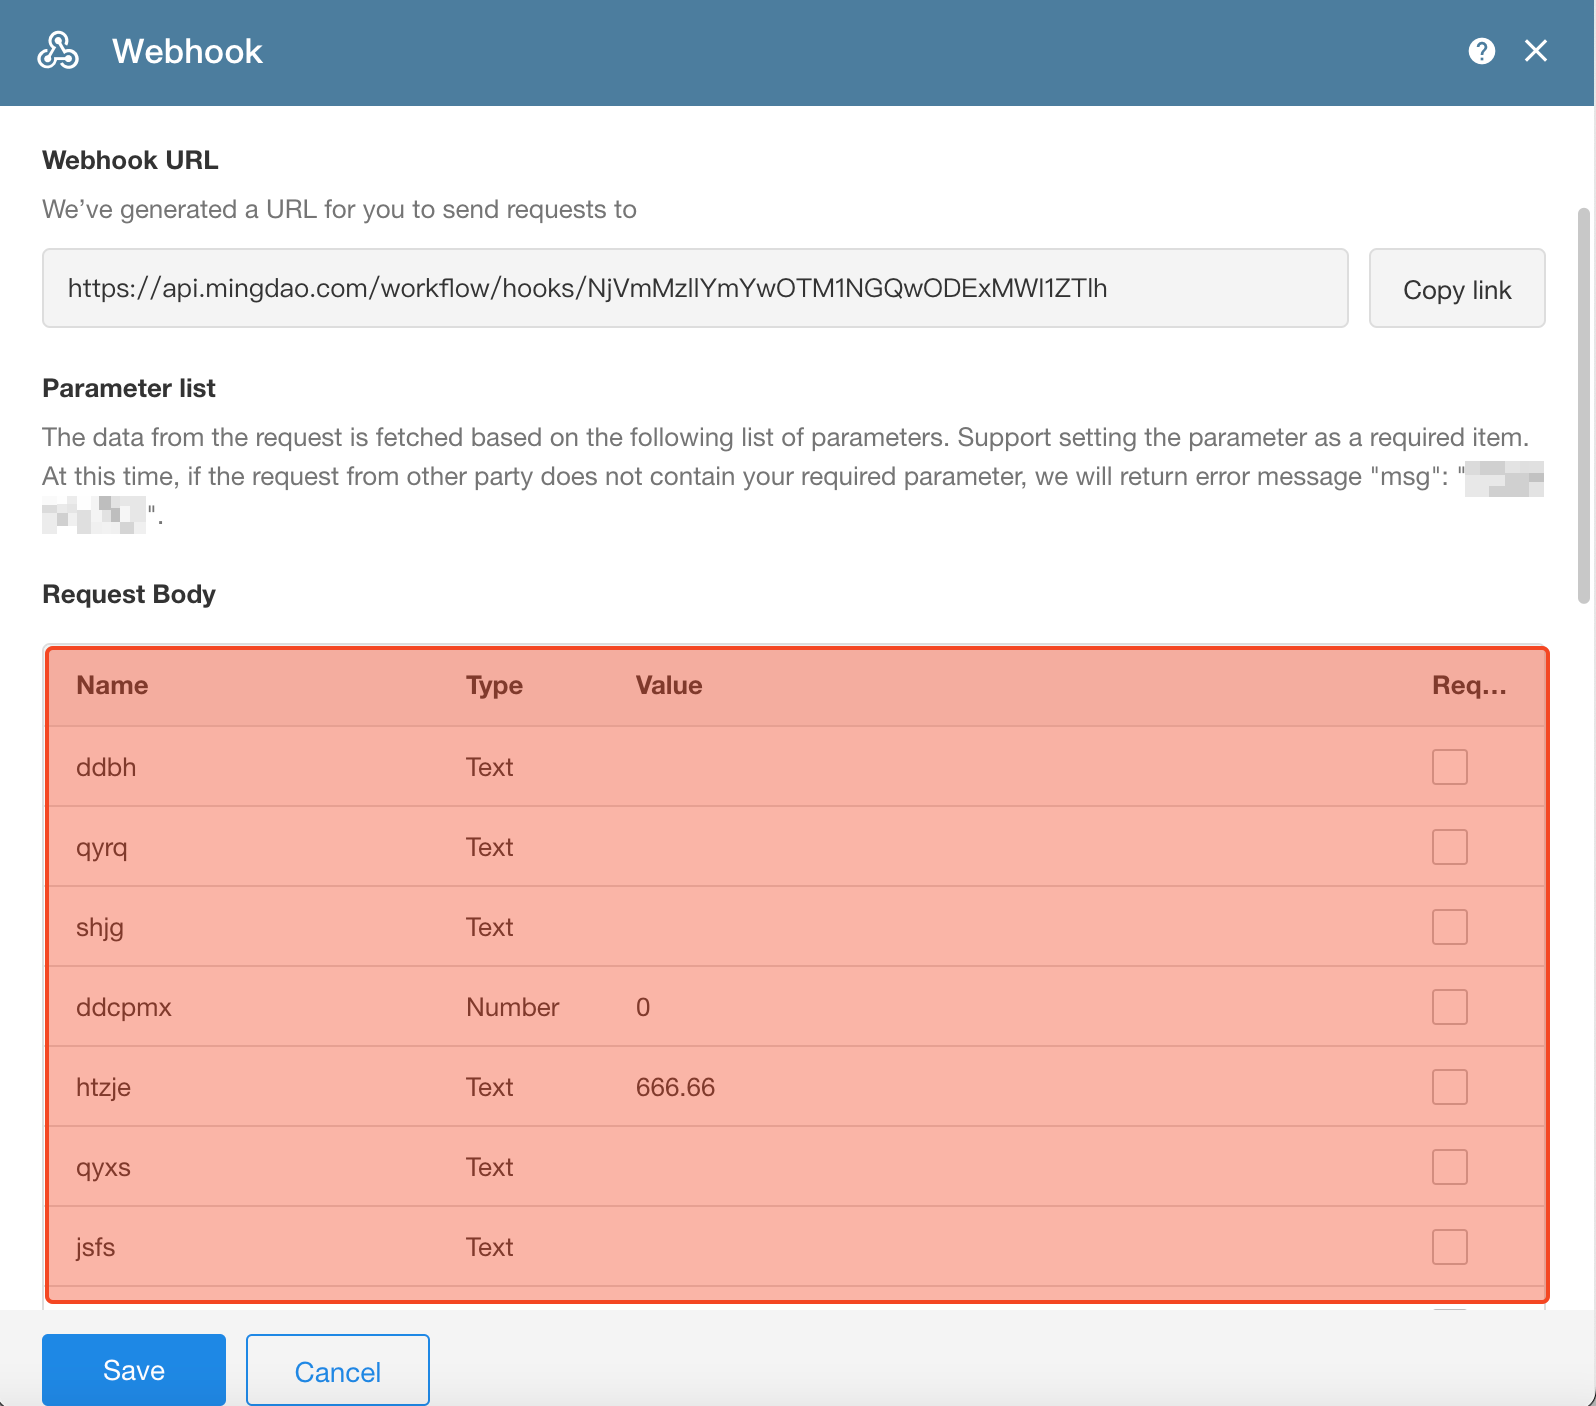
Generate the Parameter List
We recommend selecting "Generate from Sample Request". After that, you need to send a test request to the Webhook URL from your external system within 3 minutes.

Once the platform receives the request, it will generate the corresponding parameter list. Confirm and save the configuration.
-
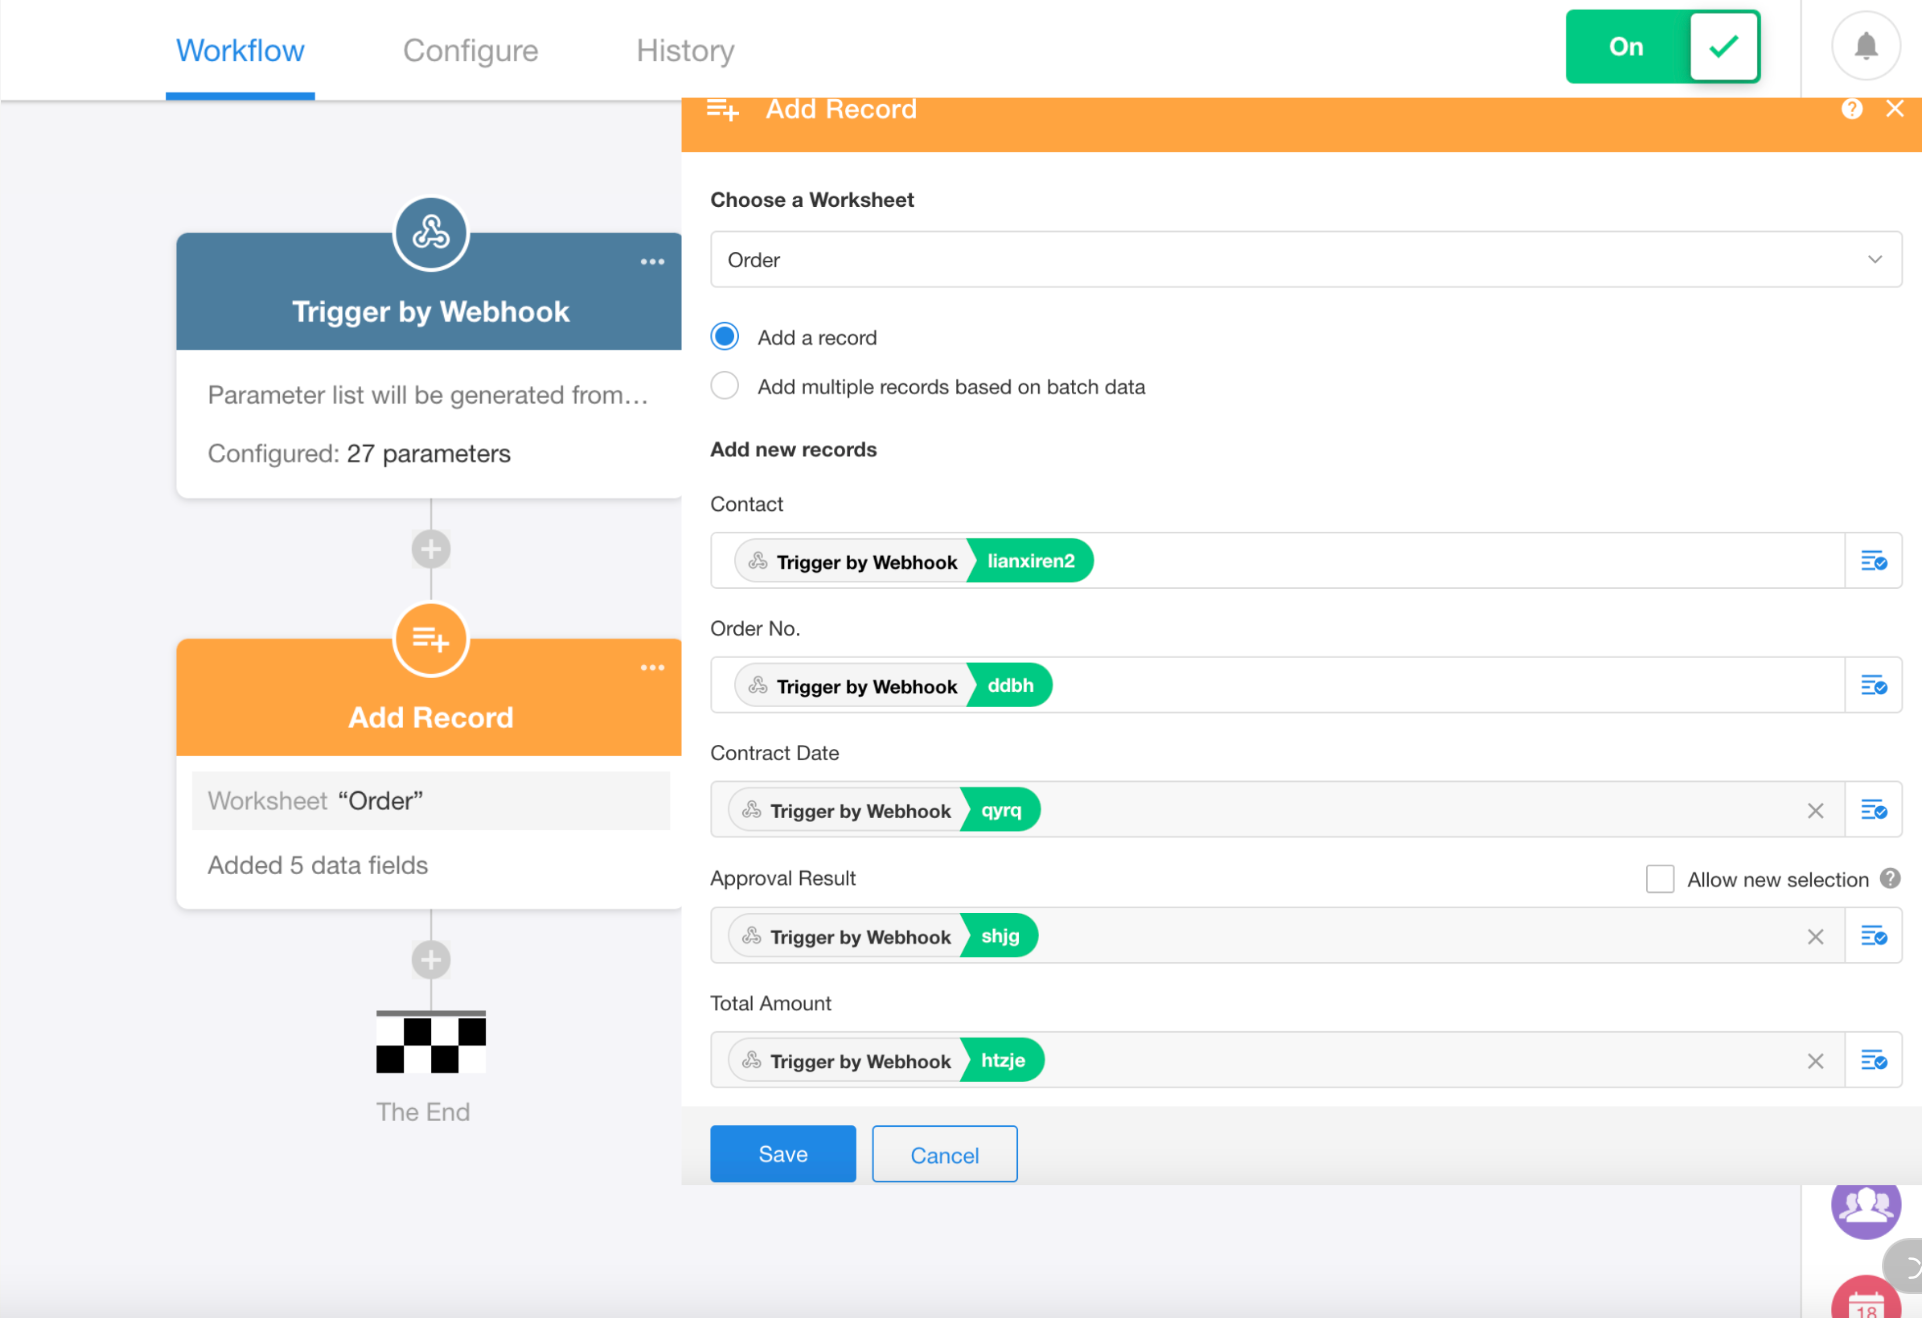
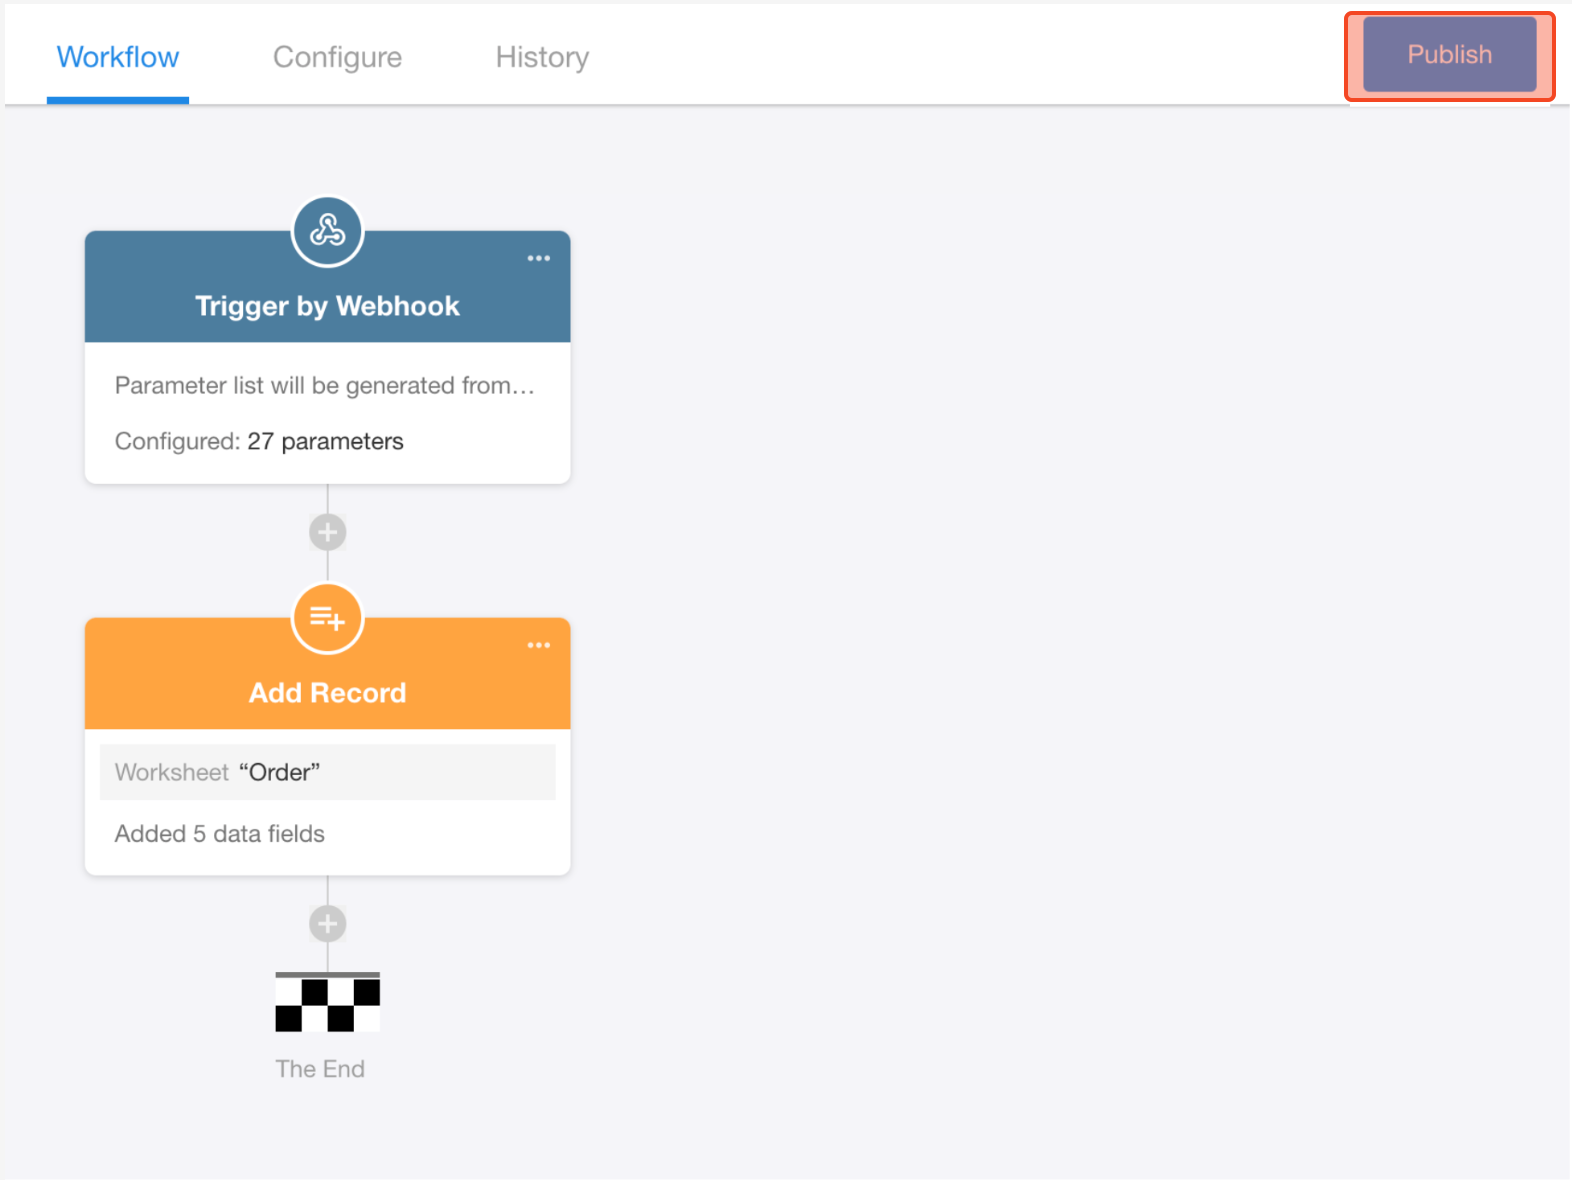
Use the "Add Record" Node to Insert Data into the Worksheet
Add an Add Record node to the workflow and map the incoming data fields to the corresponding fields in the worksheet.
-
Publish the Workflow
Click the Publish button in the upper-right corner to activate the workflow. The system is now ready to receive data.
-
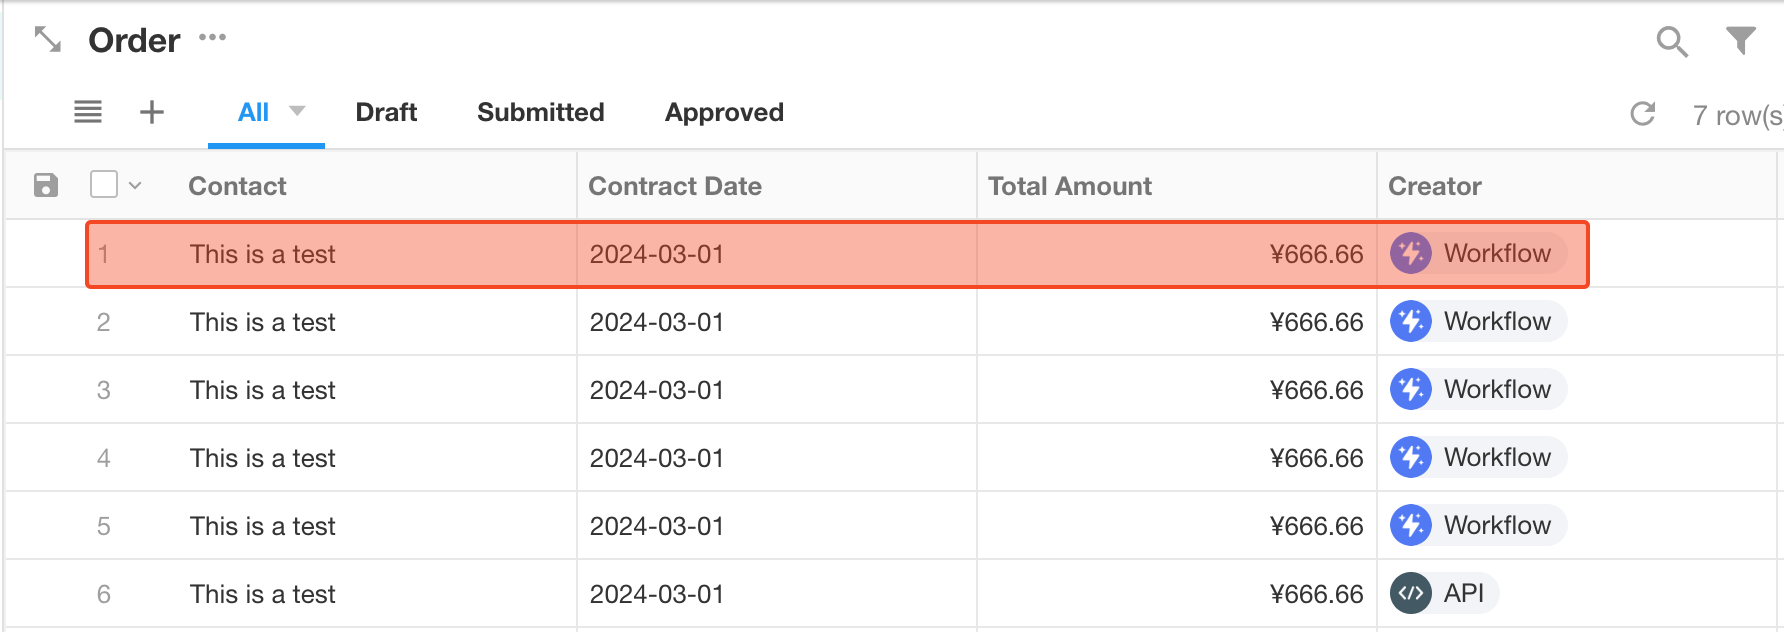
Test the Integration
From your external system, create a new order. Within about 10 seconds, refresh the worksheet. You should see a newly added record, and the Creator field will display "Workflow".
Was this document helpful?